Thursday 4 April 2013

Tall


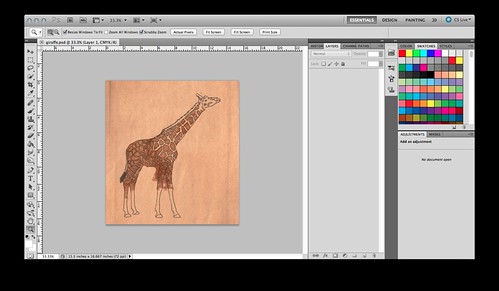
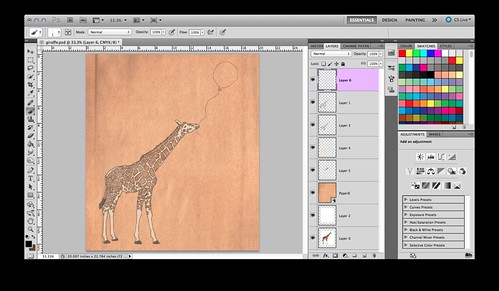
When I think tall, I think giraffe, so I really wanted to use one for this design


Photo on 13-04-04 at 7.05 PM #2 Screen Shot 2013-04-03 at 5.30.50 PM
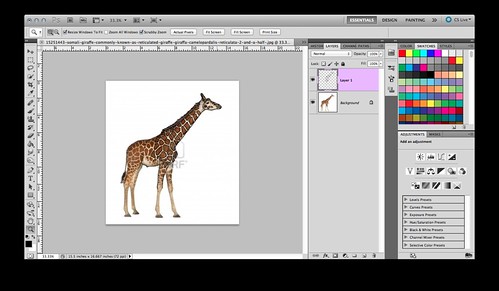
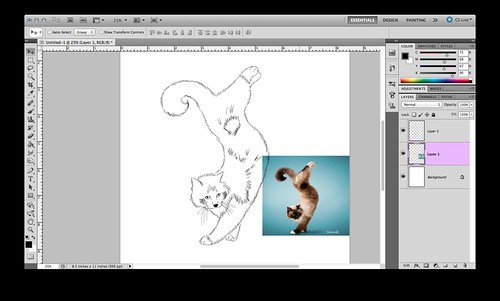
I found a picture of a giraffe online as a reference for my design.
Screen Shot 2013-04-03 at 5.42.05 PM
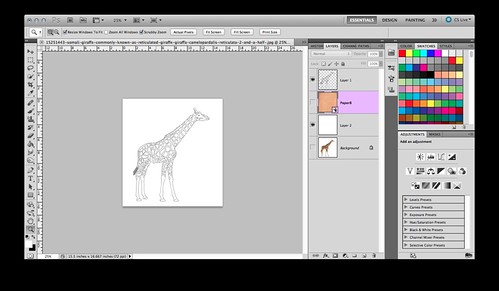
I used the brush tool with a pixel size of 3 and the opacity at around 58%. I outlined the basic shape of the giraffe.
Screen Shot 2013-04-03 at 5.44.26 PM

Screen Shot 2013-04-03 at 5.46.27 PM

Screen Shot 2013-04-04 at 5.54.26 PM
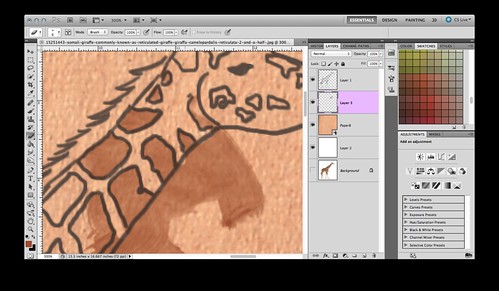
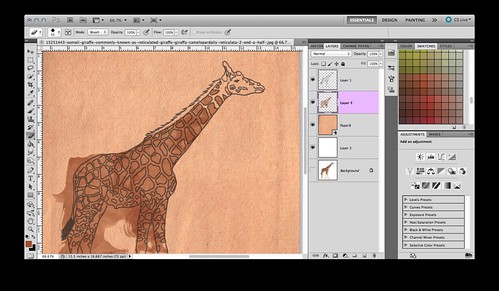
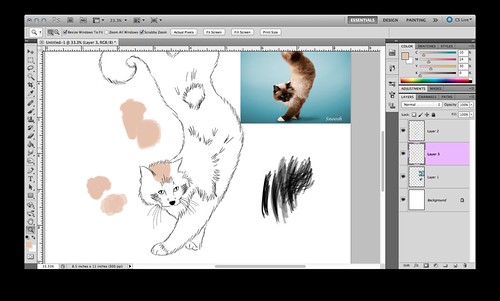
I then added a simple paper textured background. I really like a water color effect, so I used a water color brush to fill in the spots and his body. I created a new layer and painted entire giraffe, I then went in with the eraser tool and removed the brown from around the spots.
Screen Shot 2013-04-04 at 6.16.38 PM

Screen Shot 2013-04-04 at 6.25.19 PM
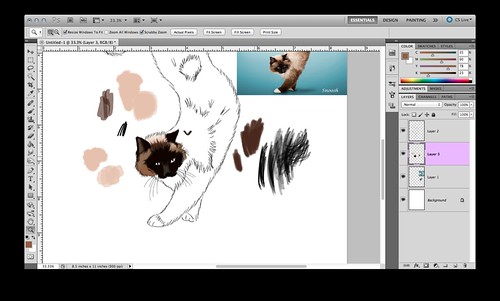
I then sampled the color of the skin from the main image, created a new later and painted that behind the spots. I then went in with the eraser and removed the extra color from around the giraffe.
Screen Shot 2013-04-04 at 6.28.54 PM
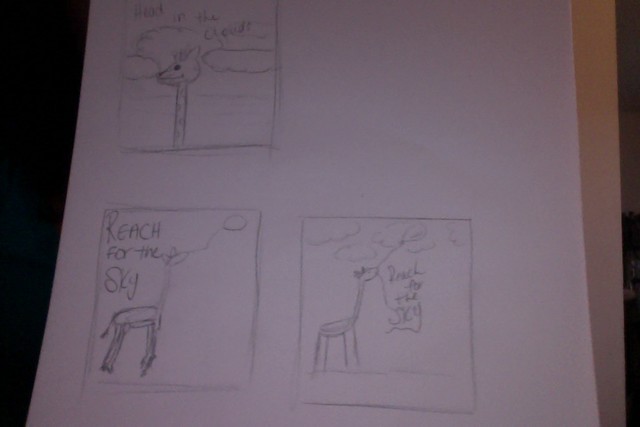
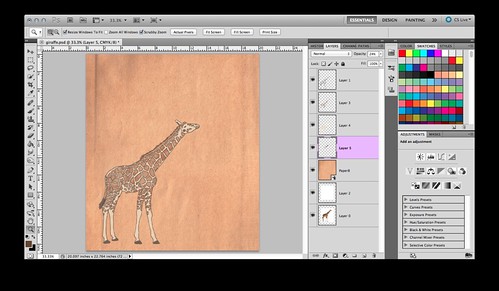
Next I drew a balloon on a new later, with a brush size of 2 pixels.
Screen Shot 2013-04-04 at 6.38.18 PM
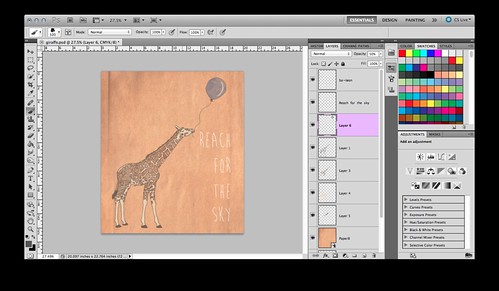
I created a new later and added a blue color with an opacity of 51%. I went in with the eraser tool and removed the extra color from around the shape.
Screen Shot 2013-04-04 at 6.42.09 PM
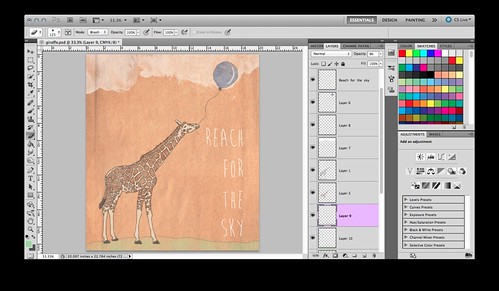
I then added text, justified to the right, clouds in the sky with an opacity of 52% and grass on the ground, because it looked like he was floating.

giraffe

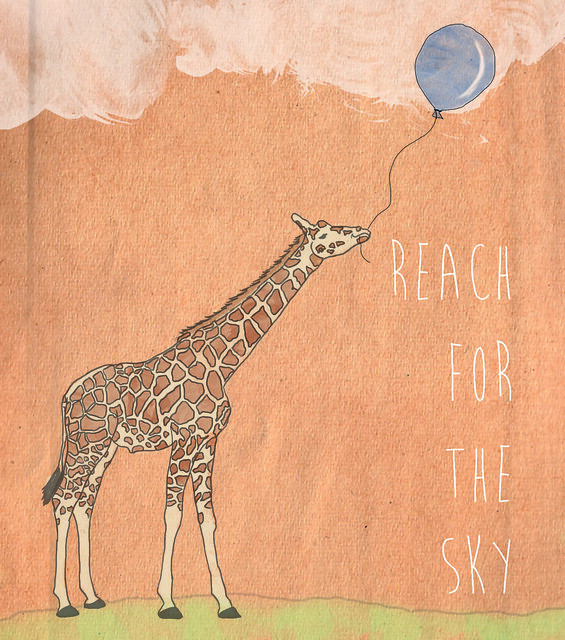
here is the final. Hope you enjoyed it!

Sunday 24 March 2013

Whisper


The idea behind my concept is Inner Beauty.
A lot of girls have problems finding themselves beautiful.
This image is a mirror image of a girl telling herself that she is beautiful.
Screen Shot 2013-03-23 at 6.42.24 PM
First I drew a profile image of a woman's face using the brush tool at 3pt.
Screen Shot 2013-03-23 at 6.49.47 PM
I then brought in a paper background. I used the brush tool with a water color brush to fill in the face and lips, and out an opacity of 60%
Screen Shot 2013-03-23 at 7.04.10 PM
Next I changed the size of the canvas because I found there was too much empty space on the top.
I took the image of the face and copied the layer and flipped it horizontally so it mirrored the image on the left.
Screen Shot 2013-03-25 at 12.08.55 AM
I wanted to add a subtle background, so I found line drawings of my favorite flower, the hibiscus, and placed them in the background. I then applied the layer blending Multiply to get rid of the white background and applied an opacity of 80%.
I then added a wispy smoke effect to symbolize a whisper effect. I then added the words "you're beautiful" into the smoke.

And here is the final product


identicial

Thursday 7 March 2013

Talented Kitty Cat

The word that I chose for this entry is 'Talent'. When I first heard the word talent, first thing I thought of was circus cats or a balancing cat. Not too sure why, but it just made sense. First I found this photo online of a cat, which I like a lot because he was in a very unusual pose, and exactly what I was looking for.

My first step was to take the photo into Photoshop and trace the basic shape using the brush tool on a separate layer.


Screen Shot 2013-03-03 at 7.28.53 PM
At this point I am testing out colours and different brushes to use to paint the fur.
Screen Shot 2013-03-03 at 7.34.11 PM
I applied the colours to his face, and I used the smudge tool to blend the colours together.
Screen Shot 2013-03-03 at 7.46.24 PM
Hes all done! I repeated the same step above using the smudge tool to create the fur
Screen Shot 2013-03-07 at 3.37.39 PM
Next I drew the ball of yarn. I used the brush tool with a point size of 3 and opacity of 75 to create it. I used a circle on another layer as a reference to get the correct shape. I then created another layer behind the ball of red, with an opacity of 43%.
Screen Shot 2013-03-07 at 3.53.19 PM
I felt that it was too empty, so I added a splash of colour in the background using a water color brush at 50% and size of 2500pts.
Screen Shot 2013-03-07 at 4.00.35 PM cat
Here is the finished product. I love the line drawing and watercolour effect that I got on the yarn.
I am very pleased with the outcome.

Tuesday 12 February 2013

Illustration Friday "Ocean"

Frankocean_thumbnails
So this is the first stages of my Inspiration word OCEAN. The first thing that came to mind when I saw that the word was ocean was rap artist, Frank Ocean. From there I started to think about how I can incorporate him into an aquatic type scene. So I'm going to paint a portrait of Frank Ocean in monochromatic blues. 
Here are my thumbnails for my portrait layouts.

Frank-Ocean-10-16-12
Original Image
  Screen Shot 2013-01-23 at 1.31.37 PM


Screen Shot 2013-01-23 at 1.41.11 PM

So this is my progress so far. I decided to take the digital route, and do a photoshop painting.
Im using the eye dropper tool to sample colours off the photo, and I use the brush tool to paint in the colours. Then I use the smudge tool to blend them all together and if it a painterly effect.


Screen Shot 2013-01-23 at 2.01.56 PM

Getting close to the oh so difficult part...the eyes!

Screen Shot 2013-01-23 at 3.20.28 PM

So I figured I'd show my blending technique. I use the eye dropper tool and I sample colours.
I then use the smudge tool to blend all the colours together.


Screen Shot 2013-01-25 at 6.13.11 PM


Screen Shot 2013-01-28 at 9.56.09 PM

Screen Shot 2013-02-12 at 8.11.21 PM
So this is the final product. I wanted the focus to be just on his face, so I didn't include the blue and red shirt I am really content with the final results. I also added his name in an outlined text, so it wouldn't take away from the design itself.

Final

So this is the final product.
I wanted the focus to be just on his face, so I didn't include the blue and red shirt
I am really content with the final results.
I also added his name in an outlined text, so it wouldn't take away from the design itself. Screen Shot 2013-02-12 at 8.11.21 PM

Monday 28 January 2013

Wednesday 23 January 2013

So I figured I'd show my blending technique.
I use the eye dropper tool and I sample colours.
I then use the smudge tool to blend all the colours together.


xScreen Shot 2013-01-23 at 3.20.28 PM

Some more progress

Screen Shot 2013-01-23 at 2.01.56 PM
Getting close to the oh so difficult part...the eyes!


Frank Ocean Progress


So this is my progress so far. I decided to take the digital route, and do a photoshop painting.

Im using the eye dropper tool to sample colours off the photo, and I use the brush tool to paint in the colours. Then I use the smudge tool to blend them all together and if it a painterly effect.


Screen Shot 2013-01-23 at 1.41.11 PM

Screen Shot 2013-01-23 at 1.31.37 PM Frank-Ocean-10-16-12

Original picture

Tuesday 22 January 2013

Ocean: Stage 1

So this is the first stages of my Inspiration word OCEAN.
The first thing that came to mind when I saw that the word was ocean was rap artist, Frank Ocean.
From there I started to think about how I can incorporate him into an aquatic type scene.
So I'm going to paint a portrait of Frank Ocean in monochromatic blues.

Here are my thumbnails for my portrait layouts.


Frankocean_thumbnails Original picture

Wednesday 16 January 2013

First!


So this is my first blog entry :)
I thought it would be appropriate to start off with some old art work from  my later years in high school and beginning years at Seneca@ York

Enjoy!


Photo on 13-01-15 at 11.57 PM #2
Photo on 13-01-16 at 12.02 AM Photo on 13-01-15 at 11.57 PM